How to Install and Remove a Hydraulic Breaker for Mini Excavators
Hydraulic breakers have become essential tools in the construction and demolition industries, particularly when used with mini excavators. This article provides a comprehensive guide on how to install and remove a hydraulic breaker, ensuring optimal performance and safety.
What is a Hydraulic Breaker?
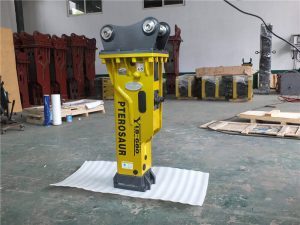
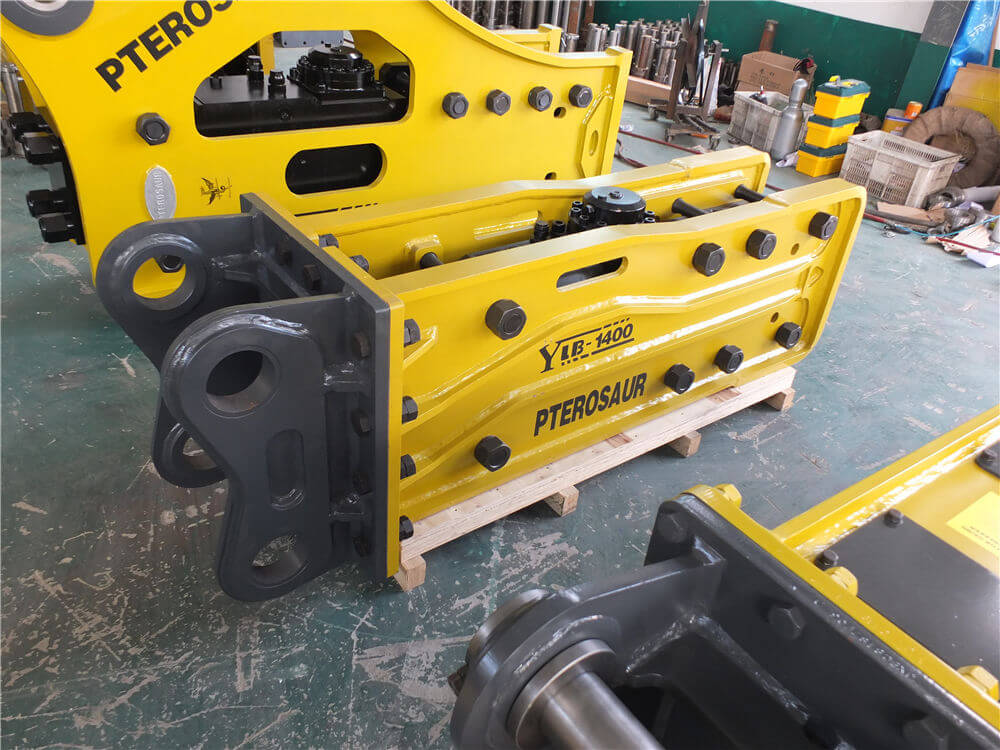
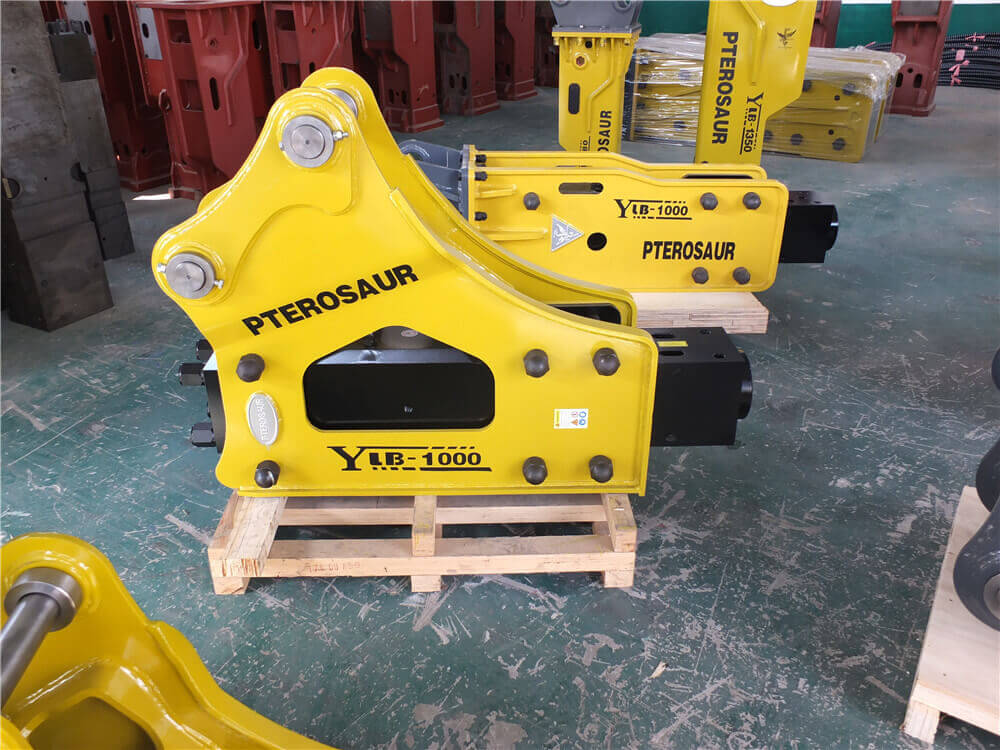
A hydraulic breaker is a powerful tool that uses hydraulic force to break up rock, concrete, and other hard materials. Typically attached to excavators, these breakers are favored for their efficiency and versatility on job sites.
Installation of a Hydraulic Breaker
Step 1: Gather Required Tools and Parts
Before beginning the installation, ensure you have all necessary tools and parts at hand. This includes the hydraulic breaker attachment, piping kits, and any specific tools mentioned in the user manual.
Step 2: Prepare the Excavator
Ensure that your mini excavator is compatible with the hydraulic breaker. This includes checking the weight and specifications of the breaker to ensure they match the excavator’s capabilities.
Step 3: Clean Hydraulic Lines
Before connecting the hydraulic breaker, clean the hydraulic oil lines and all connections. This step is crucial to prevent contamination and ensure effective operation.
Step 4: Connect the Hydraulic Breaker
- Align the hydraulic breaker with the excavator’s attachment point.
- Securely connect the hydraulic lines, ensuring there are no leaks. Improper connections can lead to malfunctions or accidents during operation.
Step 5: Check Hydraulic Settings
Adjust the hydraulic settings according to the manufacturer’s recommendations. This can include pressure and flow rate adjustments to match the requirements of the hydraulic breaker.
Step 6: Grease the Breaker
Apply adequate grease to the moving parts of the hydraulic breaker as per the manufacturer’s guidelines. Proper lubrication is essential for the longevity and effective functioning of the tool.
Step 7: Final Check
Perform a final inspection to ensure everything is securely attached and properly set up. Check for any leaks in the hydraulic lines and ensure that safety measures are in place.
Best Practices for Operating a Hydraulic Breaker
- Avoid Overworking the Breaker: Continuous heavy use can lead to wear and tear. Alternate with other attachments when possible.
- Regular Maintenance: Following the manufacturer’s guidelines for maintenance will help keep the hydraulic breaker in optimal condition.
- Safety First: Always wear appropriate personal protective equipment (PPE) and follow safety protocols while operating the hydraulic breaker.
Removing a Hydraulic Breaker
Step 1: Disconnect Hydraulic Lines
To safely remove the hydraulic breaker, first disconnect the hydraulic lines. Ensure that the excavator is turned off and depressurized to avoid accidents.
Step 2: Detach the Breaker
Carefully remove the hydraulic breaker from the excavator’s attachment point. Be cautious of the weight and ensure that it is done safely.
Step 3: Store Properly
After removal, store the hydraulic breaker in a safe, dry place to prevent damage and ensure its longevity.
Conclusion
Installing and removing a hydraulic breaker from a mini excavator requires attention to detail and adherence to safety protocols. By following the steps outlined in this guide, operators can ensure that their hydraulic breakers function effectively and safely, enhancing productivity on the job site.
For more information and detailed instructions, always refer to the manufacturer’s manual specific to your hydraulic breaker model.


