


How to Install and Use a Hydraulic Breaker on an Excavator
Hydraulic breakers, also known as hydraulic hammers or excavator jackhammers, are essential attachments for excavators used in construction, demolition, and mining. This article provides a comprehensive guide on how to install and use a hydraulic breaker on your excavator, ensuring optimal performance and safety.
What is a Hydraulic Breaker?
A hydraulic breaker is a powerful tool that replaces the excavator’s standard digger bucket. It operates using high-pressure hydraulic fluid, which drives a piston to deliver impactful blows to hard materials like concrete, stone, and asphalt. These attachments are vital for breaking down tough surfaces and performing demolition work efficiently.
Key Components Required for Installation
Before beginning the installation process, ensure that you have the following components:
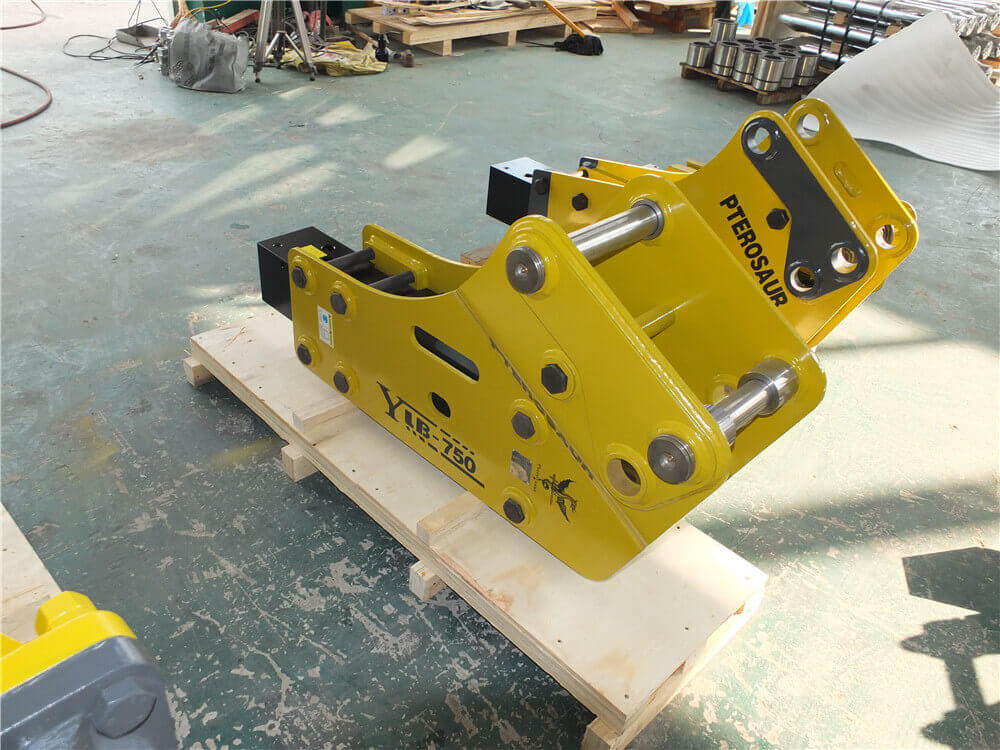
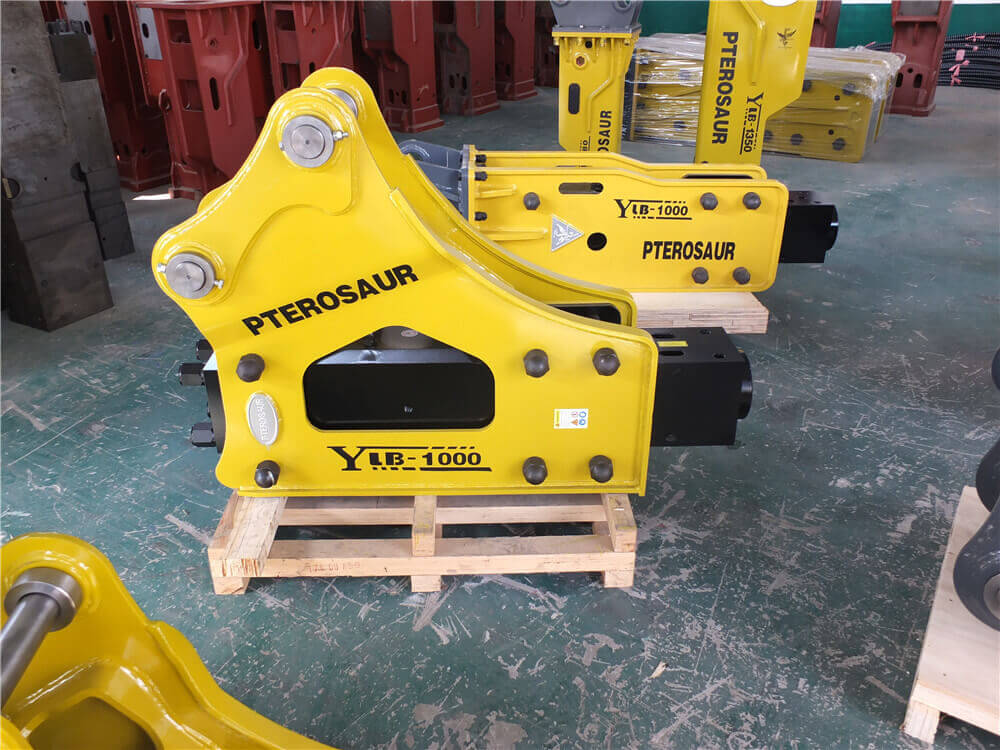
- Hydraulic Breaker: The main tool for demolition.
- Mounting Bracket: This connects the breaker to the excavator.
- Hydraulic Hose Kit: For connecting the breaker to the excavator’s hydraulic system.
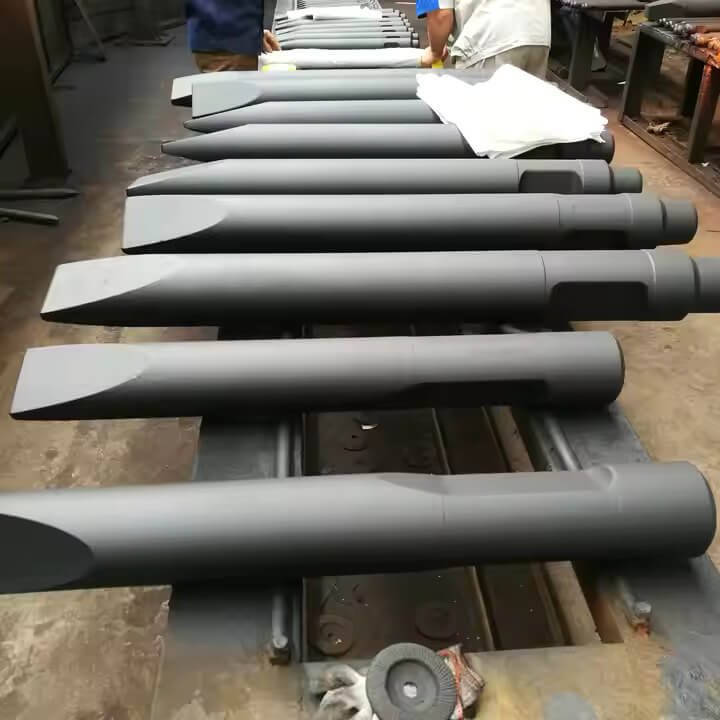
- Breaker Point: The chisel or tool that impacts the surface.
- Wrench: Necessary for tightening bolts.
- Helper: It’s advisable to have an assistant during installation for safety and efficiency.
Step-by-Step Guide to Install a Hydraulic Breaker
Step 1: Prepare the Excavator
Ensure that the excavator is parked on a stable surface and turned off. Engage the parking brake to prevent any movement during the installation.
Step 2: Remove the Digger Bucket
Using your wrench, detach the existing digger bucket from the excavator. This typically involves removing several pins or bolts that hold the bucket in place.
Step 3: Attach the Mounting Bracket
Position the mounting bracket onto the excavator arm where the digger bucket was previously attached. Secure it tightly using the appropriate bolts and the wrench. Make sure it is aligned properly for the hydraulic breaker.
Step 4: Connect the Hydraulic Breaker
Carefully lift the hydraulic breaker and align it with the mounting bracket. Secure it using the provided pins or bolts. Ensure that the breaker is firmly attached to avoid any accidents during operation.
Step 5: Install the Hydraulic Hose Kit
Connect the hydraulic hose kit to the hydraulic breaker. Make sure each hose is securely fastened to prevent leaks. It is crucial to follow the manufacturer’s specifications regarding the hydraulic connections.
Step 6: Test the Setup
Before fully operating the hydraulic breaker, conduct a test to ensure that all connections are secure and that the breaker is functioning correctly. Start the excavator and activate the hydraulic breaker briefly to check for any unusual noises or malfunctions.
How to Use a Hydraulic Breaker
Once your hydraulic breaker is installed, follow these guidelines to use it effectively and safely:
- Positioning: Ensure the excavator is stable and positioned correctly over the material you intend to break.
- Power Settings: Adjust the hydraulic flow settings according to the manufacturer’s recommendations for optimal performance.
- Safety Gear: Always wear appropriate safety gear, including gloves, helmets, and eye protection.
- Techniques: Use the breaker in a controlled manner—avoid excessive force that could damage the equipment or lead to accidents.
- Maintenance: Regularly inspect the hydraulic breaker for wear and tear. Daily visual inspections can help prevent project delays and ensure safety.
Conclusion
Installing and using a hydraulic breaker on an excavator can significantly enhance your project’s efficiency, especially in demolition and heavy construction tasks. By following this guide, you can ensure a safe and effective installation and operation of your hydraulic breaker, leading to successful project outcomes. Remember to always prioritize safety and proper maintenance to extend the life of your hydraulic attachment.